Back in June 2024, I decided to get a vending machine. I wanted to venture into the world of small business, and I figured this would be a great way to start! It’s been a wonderful learning experience for me so far and I continue to learn as time goes on. In this post I go through the steps I took to open up my first LLC and start operating my first vending machine.
The Paperwork begins…
The first Step was to file a Certificate of Organization with the Connecticut Secretary of State. There was a $120 filing fee.
For a business address, I used this registered agent. The annual fee is $49. You can also use your home address as the business address if you prefer not to pay for a registered agent. The register agent is mostly to ensure private receipt of lawsuits and other legal documents.
For my business email, I purchased the business version of Outlook for $7.27 monthly. This comes with access to the online version of Microsoft office, which is an awesome tool for managing the business and keeping everything organized. I didn’t like that the email ended in onmicrosoft.com so I also went ahead and purchased a domain for $24.16, and my email address now shows up as @SGDVendingLLC.com. Makes it look a bit more formal, so I liked it that way.
For my next step, I got myself an EIN (Employer Identification Number) at IRS.gov. The process is quick and easy and it’s free!
After that, I registered with the Connecticut department of Revenue Services. I submitted the Business taxes registration application, and I got a sale and use tax permit. There is a monthly filing requirement for this. The fee for the application was $100 at the time I submitted it.
I also needed to submit the Beneficial Ownership Information Report. This was a new thing at the time I filled it out. It was rolled out by the financial crime enforcement network. My understanding is that there would be a penalty if I didn’t file this in time, so I just got it over with.
At this point, I was ready to get myself a bank account and credit card for my new mall business. I went with the Bank of America – Business Advantage Fundamentals Banking for my checking account. And for my credit card, I went with the Capital One – Spark 1% Classic Business Credit Card. The application process for both was online. The process was very straight forward and not time consuming at all. I was approved for a $2000 Credit limit on the Spark Card, but I did need to put my SSN on the application since the business’s credit had not been established yet.
I also went ahead and applied for a D-U-N-S number, which was to begin to establish and grown a credit rating and Credit history for the LLC.
On to the fun stuff…
Now that all the origination paperwork was ironed out for the LLC, I needed to start the process of finding a good location for my vending machine. An important tip that I read about was to make sure to secure a location first and then to buy the vending machine. I soon learned why.
Turns out that the vending machine industry is pretty saturated and most of the good spots are already taken. It was definitely a challenge to find a location where I would be able to place my vending machine.
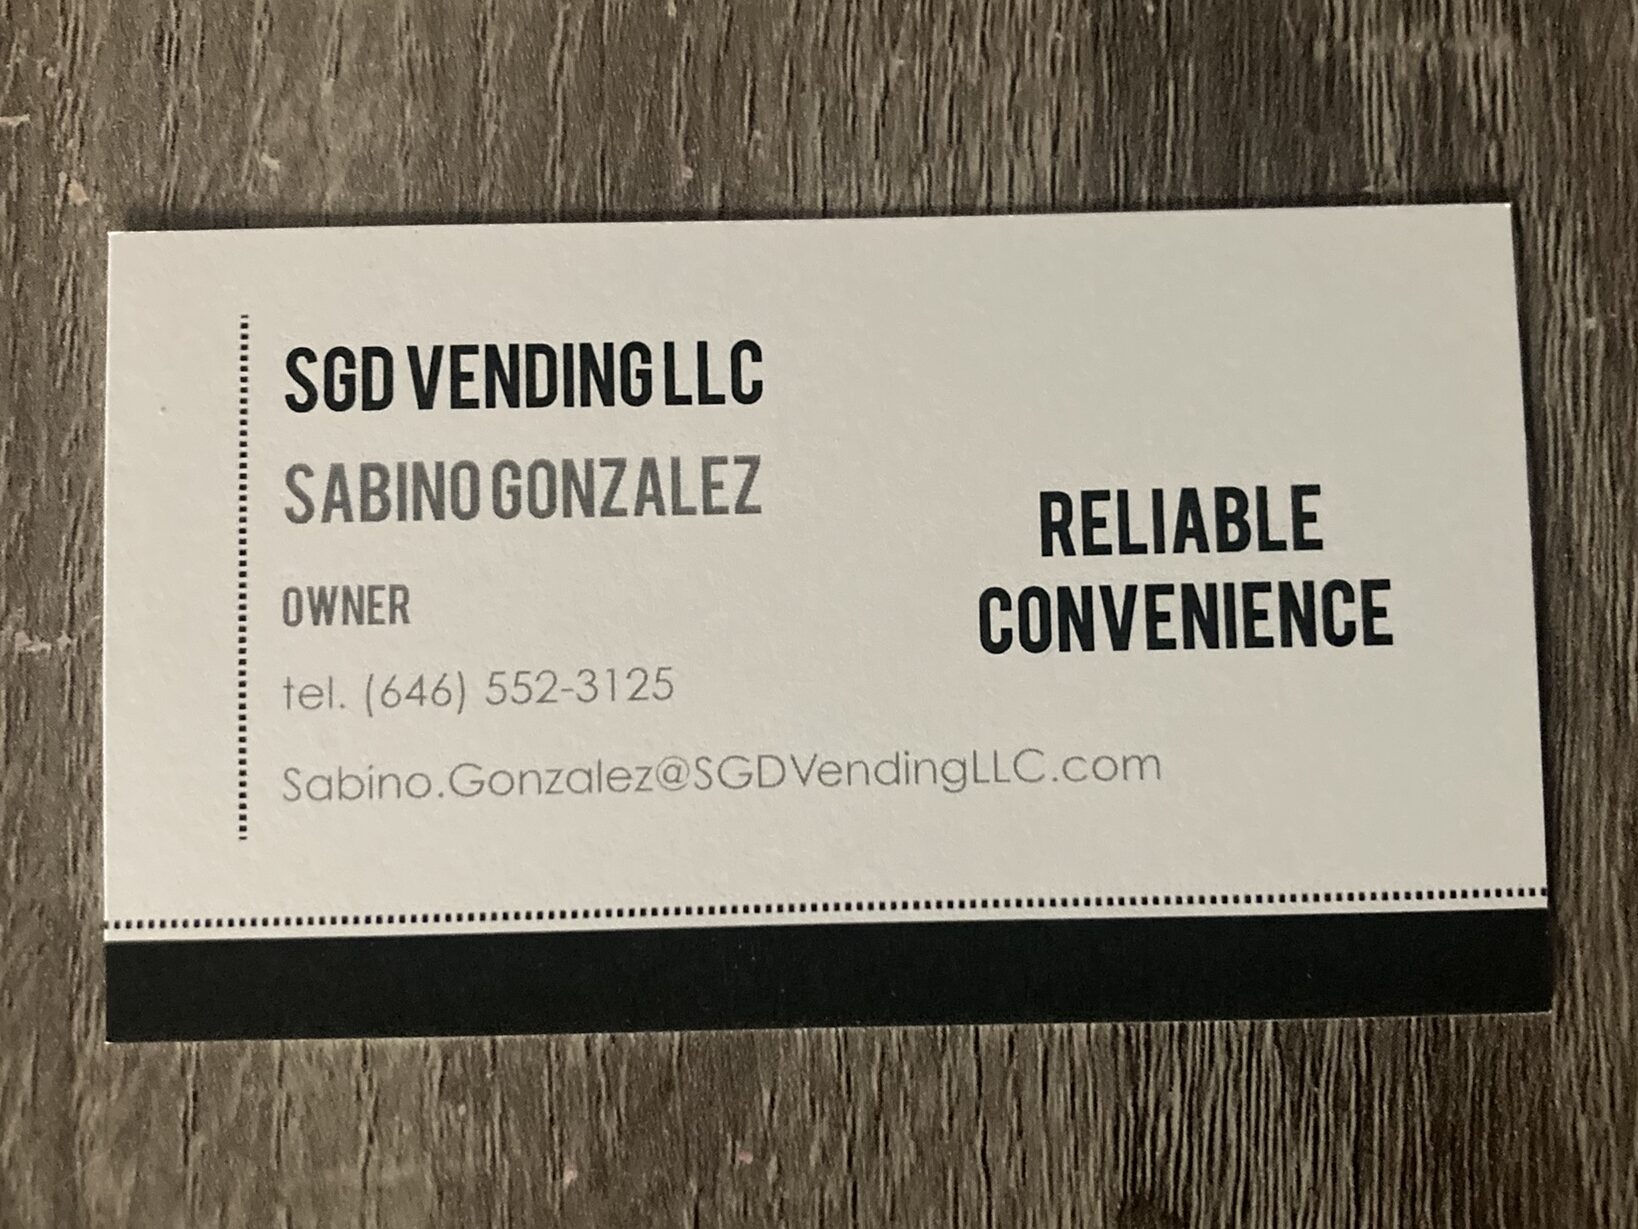
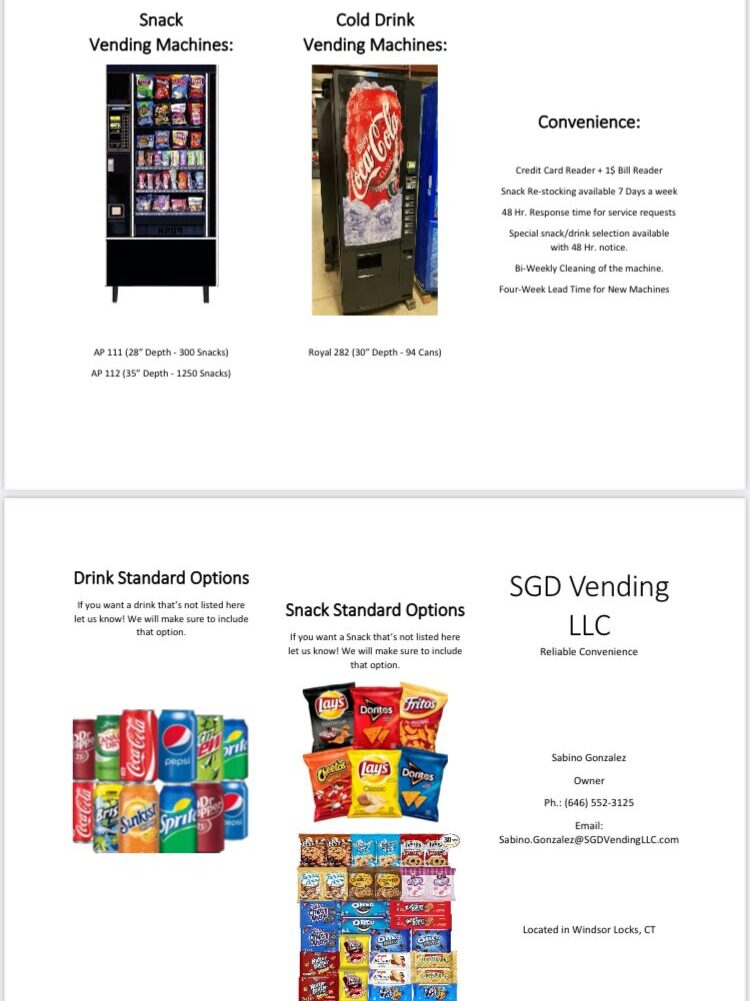
I made my way to Staples and printed myself business cards and a few Brochures. I knew that I would need those things in order to have any chance at securing a location.
In the next few weeks, I made over 200 calls and visited over 20 locations. At first, I was really excited and thought that it would be a walk in the park to get into a location. I was definitely wrong about that. After the first week of calls I was a bit frustrated since no one seemed to want to hear me out. I practiced different scripts on the cold calls and most locations either already had vending machine contracts or were not interested at all. Some managers/owners were pretty cool though and were honest letting me know that the foot traffic was very low and that it would not be a good idea for me to place a machine there.
After the second week, I was starting to think that I may not be able to actually get a location. I started making a bunch of excuses but managed to get through that and kept making calls and kept distributing my brochures and business cards.
Week 3 was when I first encountered the possibility of light at the end of the tunnel. The was a local car repair shop in my town and the owner of the shop seemed to be interested on our first call. I showed up to the shop the next day and after a short discussion he said he would review with his business partner and get back to me. He never did. I followed up a few times, every three or 4 days, but his assistant eventually told me that they were not interested. That was a real bummer.
I kept on making calls and eventually ran into another business owner that was interested! This owner did not have a partner to consult with and when I showed up, I made a few measurements, we discussed commission, and we landed on a handshake agreement.
My first location Landed! I was beyond excited. This came right as I was losing hope, so it was a wonderful feeling.
Now the fun part: Get a vending machine.
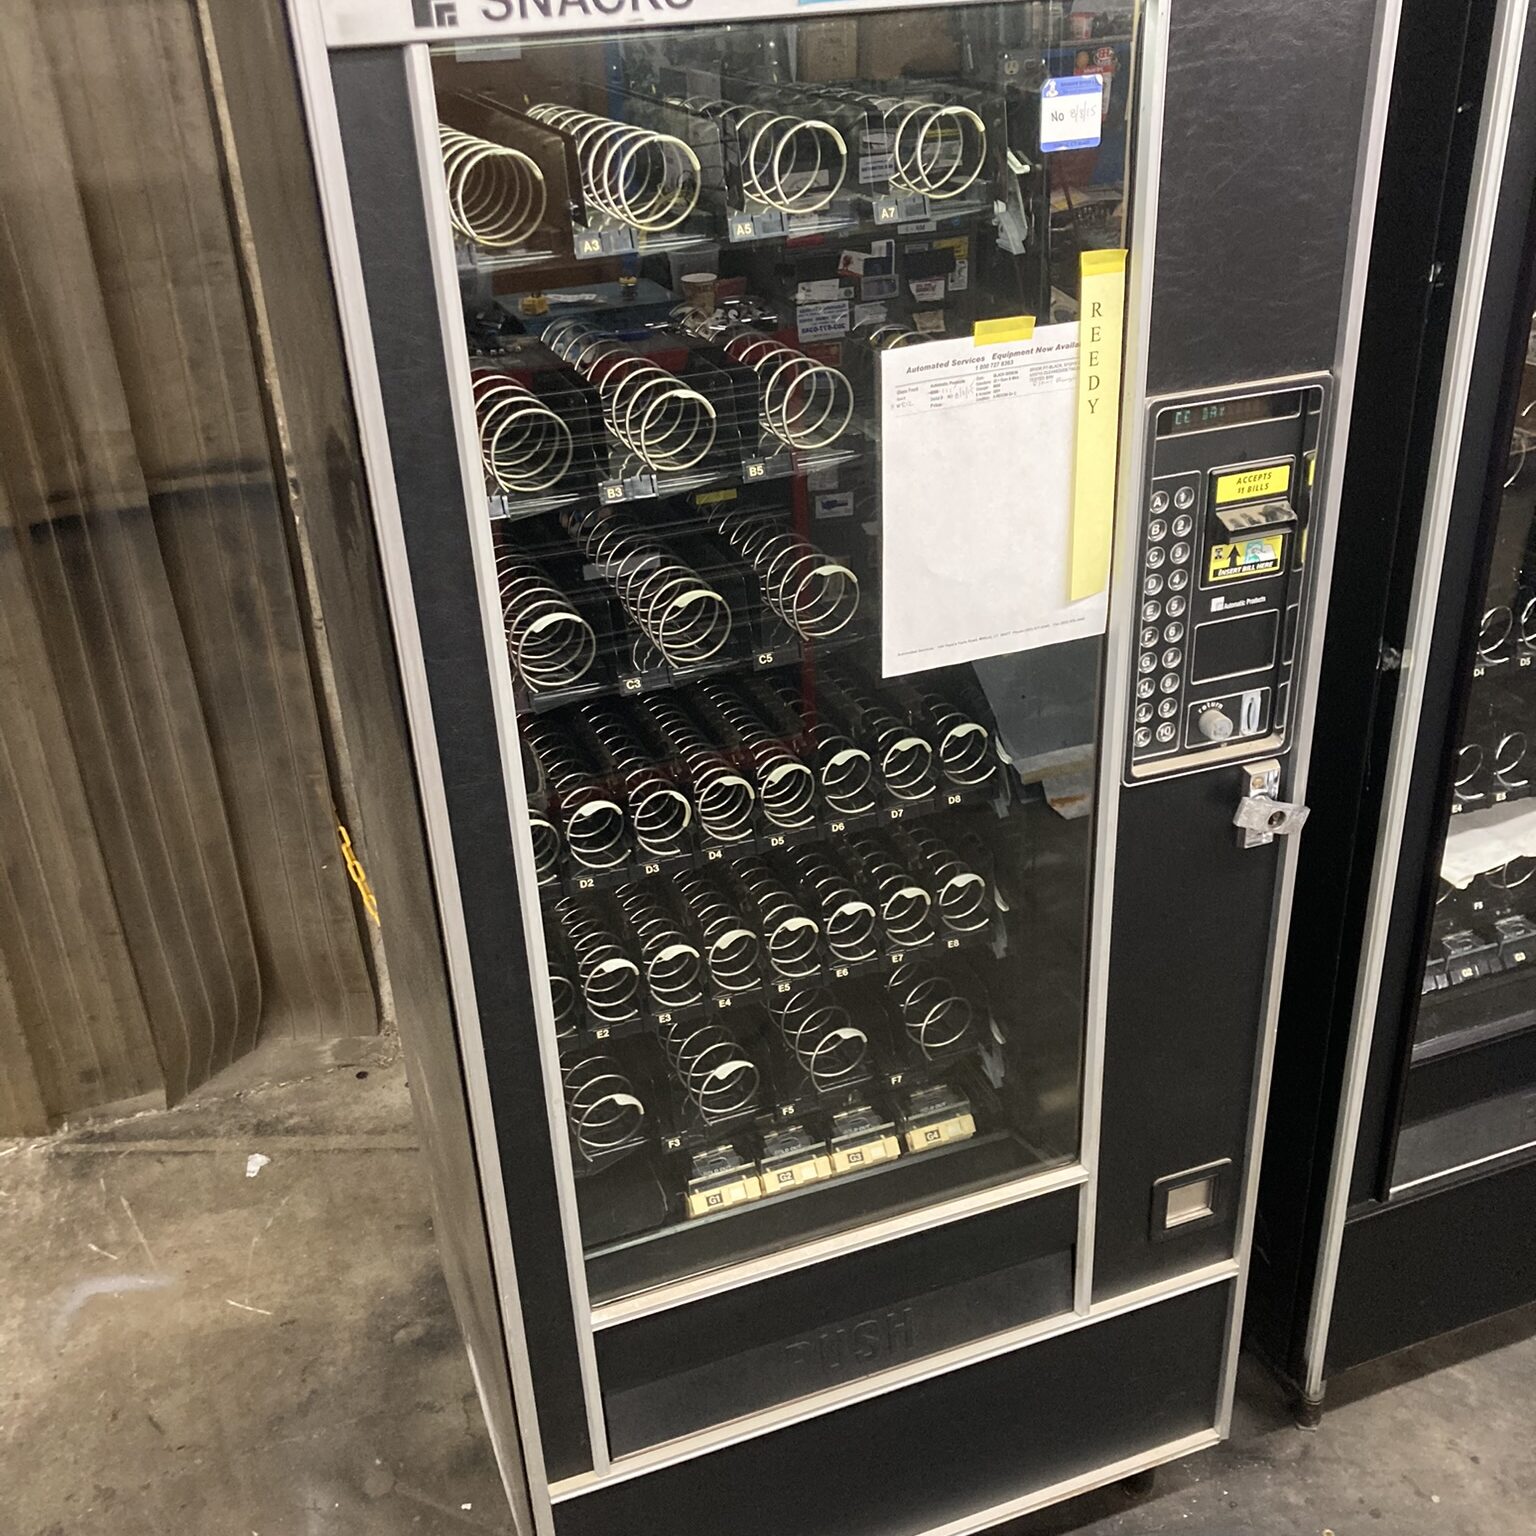
I had done some research on vending machine warehouses while I was looking for locations and made a visit to one of those warehouses the day after I locked in the location. I found the model I was looking for (AP111). The vending machine would be about $2000 out the door (with an upgraded circuit board and credit card reader installed) and delivered to the location. I paid the $250 deposit for them to get started and they told me that they should be ready to deliver the vending machine to the location in about 3-4 weeks.
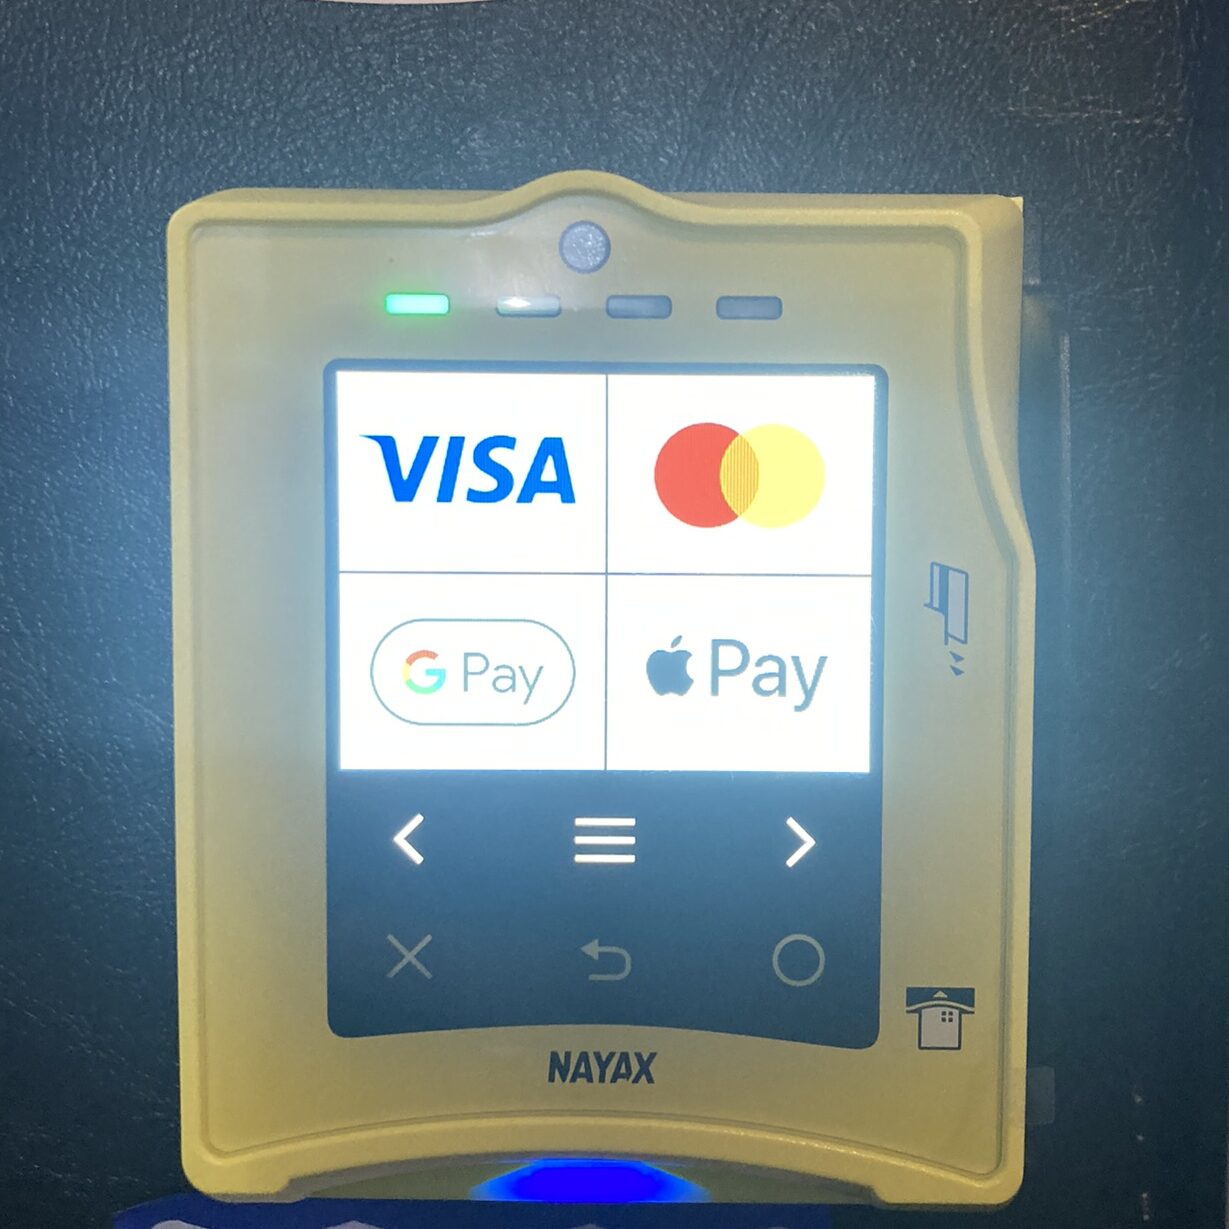
After paying the deposit I made a call to Nayax, so I could buy the credit card reader and so that they could help me set up the account. Most of the process was online and actually not as bad as I thought. I had the Nayax Card reader shipped to my house and then I dropped off the card reader at the warehouse once I received it so that they could install it.
While the machine vendor was working on the machine, I submitted by vending machine permit application to the Connecticut Department of Consumer Protection. The Application fee for 1 machine was $40 dollars and the only way to submit the application was to send the application and a money order or check by mail to the Department of Consumer Protection. They notified me when the application was received, and an inspector reached out to me a few days later to coordinate an inspection of the location and the machine. I made sure to align the delivery date with the inspection date to prevent any compliance issues.
A few weeks later, the machine was ready to be delivered to the location. I scheduled that machine delivery for the morning and the inspection for that same afternoon. I wanted to have a few hours to load the machine and make sure I understood how to properly use it and program in the prices.
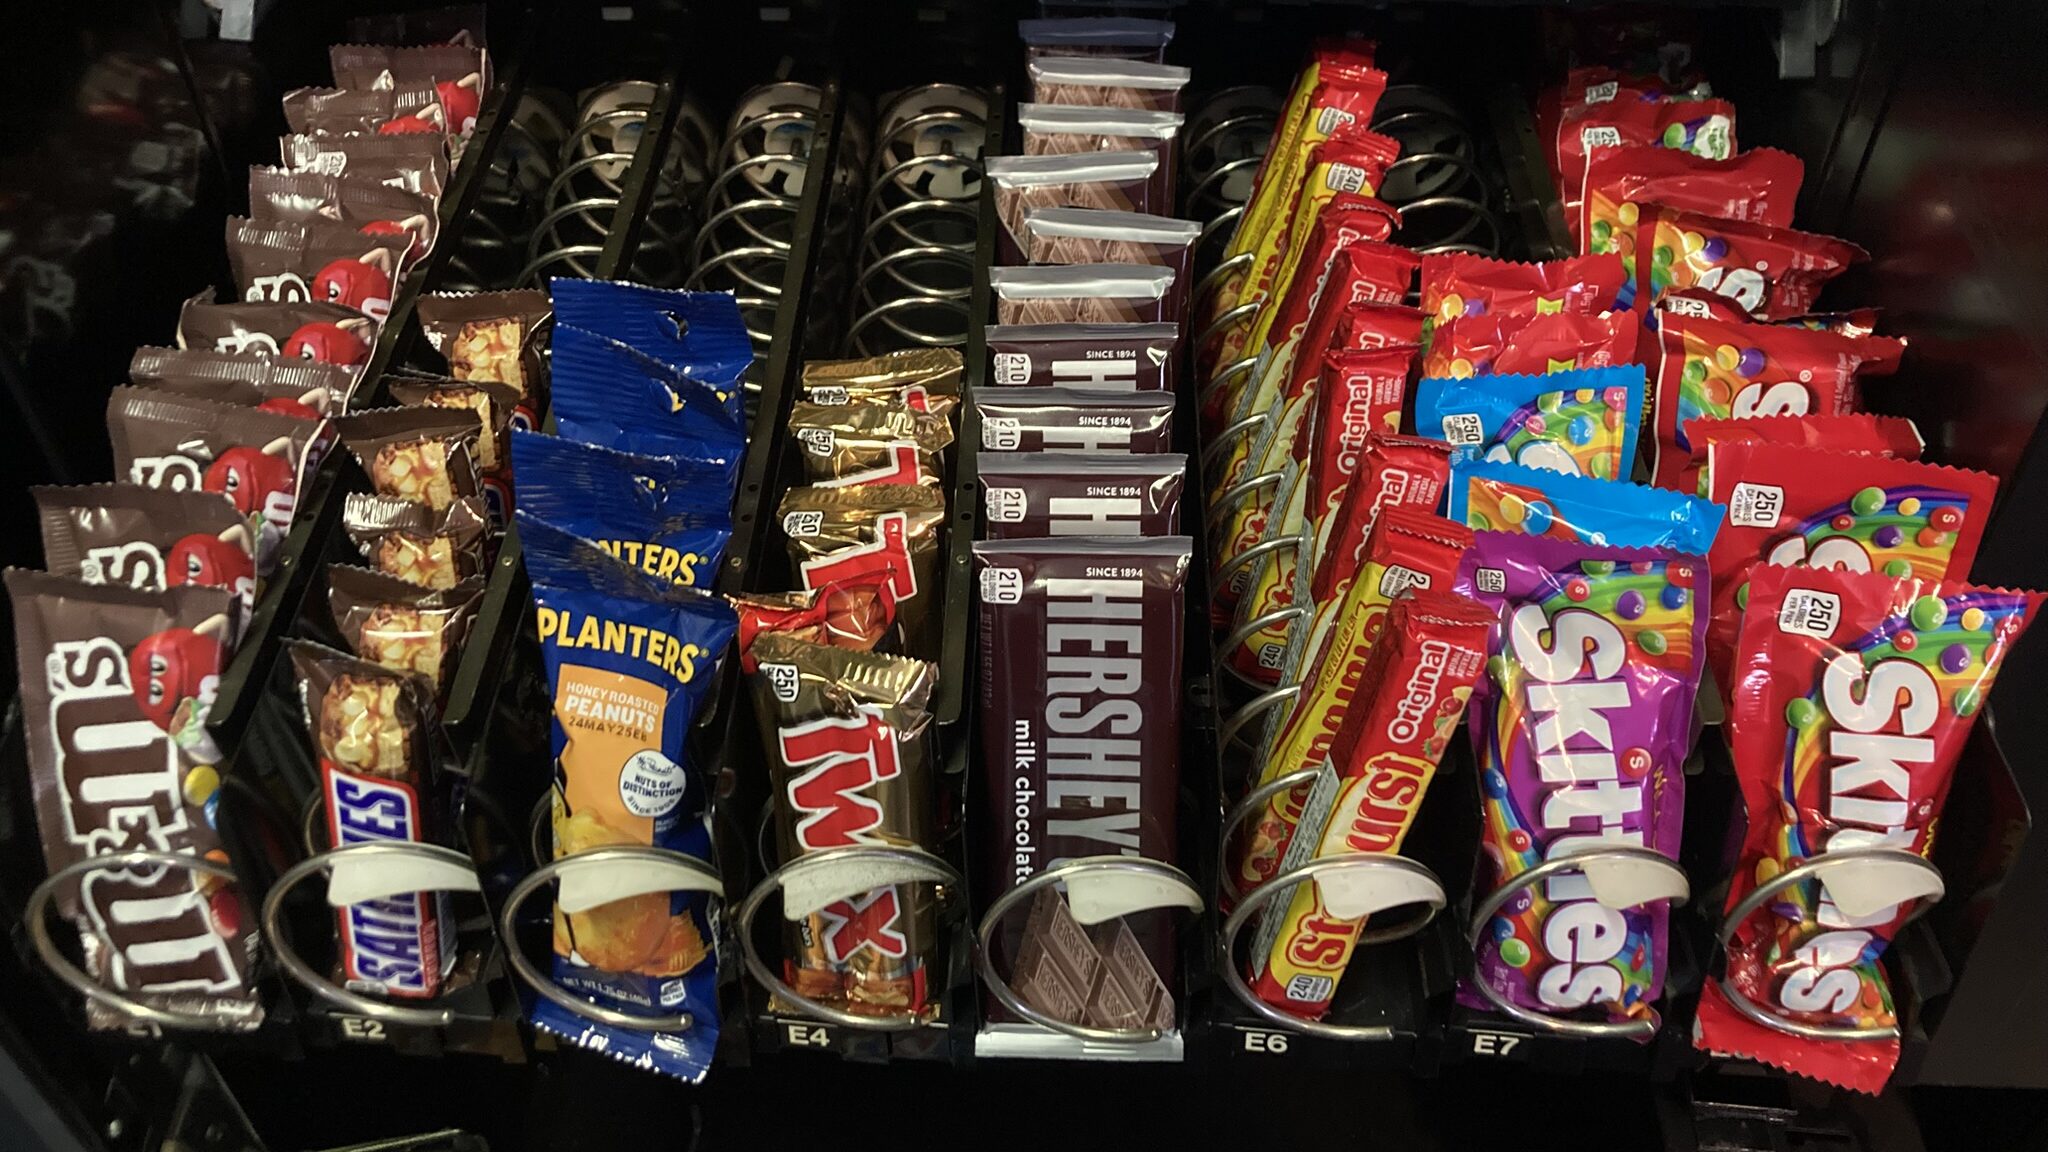
The day before the machine was delivered, I made my way to Costco and bought a few snacks. This was the first of many learning opportunities for me. A few of the snacks I bought were way too small for the vending machine so there was a bit of scrambling the first 2 days in order for me to properly load up the vending machine. The image below is of the first round of snacks I purchased for the machine. I ended up switching to Sam’s club for the Vending machine business purchases. They had a larger variety and it worked better for me.

The day of the installation arrived, and it was a great feeling to have it all set up. I installed the final label on the vending machine and was ready for the inspector to arrive.
The inspector arrived on time and walked me through an overview of the rules and regulations. The inspection was actually way less stressful than I thought it would be. The inspector was really cool and seems to really want to properly educate me and was patient with responding to my questions. After about an hour inspection, I received the stamp of approval. What a great feeling; I was officially done. Or so I thought.

After the inspector left, I finished setting up the app that connected to the Nayax Card reader and noticed that there was a connection error. Turns out that the vending machine was in a service dead zone. The Wireless connection was required for the card reader to function well. Oh well, right off the bat, we ran into the first problem that needed a quick solution.

I left the machine in its new home for a few days while I looked into possible solutions. I was still able to make cash sales, but I knew that most sales would come from card transactions, so I needed to figure it out as soon as possible. At first, I looked online in Reddit and vending machine forums. Since I wasn’t able to find a solution, I decided to give Nayax a call. Thankfully they had encountered this situation before and had the perfect solution for me. They sold an adapter that would enable an ethernet connection to the card reader. I ordered the adapter for about $20 and also got a 100-foot Ethernet cable for $20.
In case anyone needs specifics, I ended up buying the Nayax RJ45 female adapter (Nayax SKU 140001), which let me hardwire the VPOS card reader to the location’s router using an ethernet cable. To connect he RJ45 adapter to the card reader, you will need to un-fasten the card reader from the vending machine. It’s a small input on the back side.
The owner of the location was kind enough to get one of high guys to route the ethernet cable from the waiting room to where the router was located. Once the connection was established, I rebooted the VPOS Card reader and tested it out. Good to go! That was such a great feeling. At that point I was able to see all the sales and track which snacks needed to be replenished in real time. I’m definitely looking forward to get a second one soon! I’ll make another post in the near future regarding lessons learned. Stay tuned!
Leave a Reply