1/12/25 – A kitchen faucet leak at home has been on my list of things to deal with for the last few weeks. I was procrastinating starting to work on it and this weekend I noticed that the leak had slowly made its way into the basement. Time to deal with it.
I tried to take the easy way out at first. I went to Home Depot and got 2 cartridges and a few O-rings. When I got back home, I replaced the cartridges on the kitchen faucet and replaced the O-rings on the faucet stem. “I really hope it’s this easy” I thought. No luck.
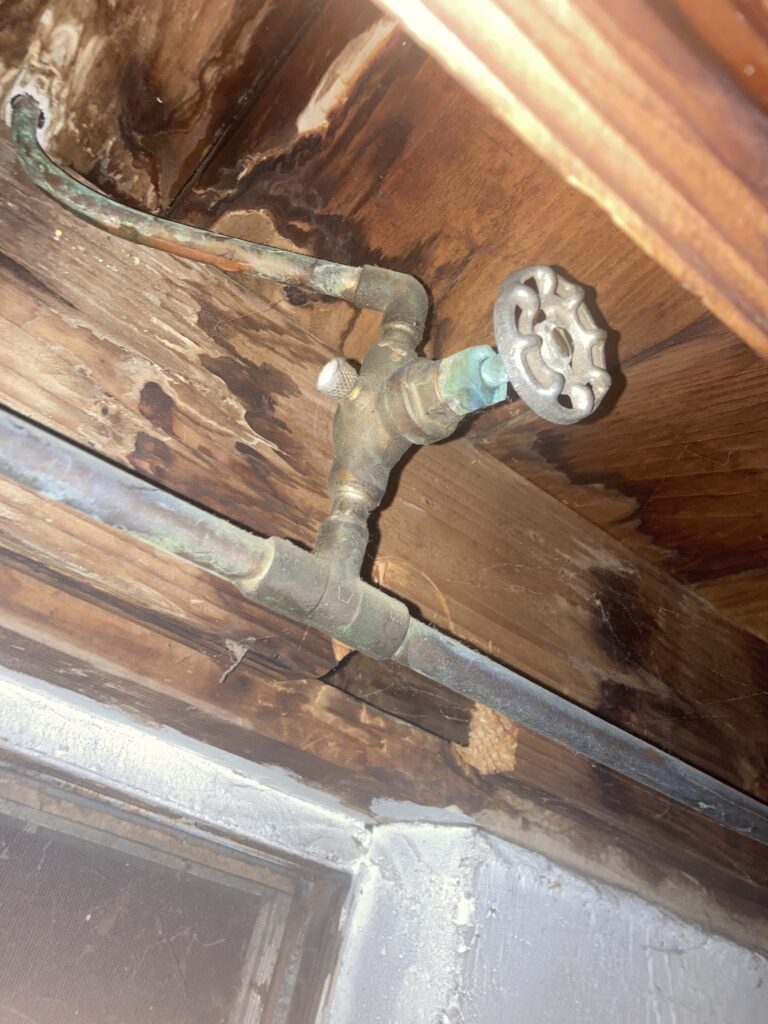
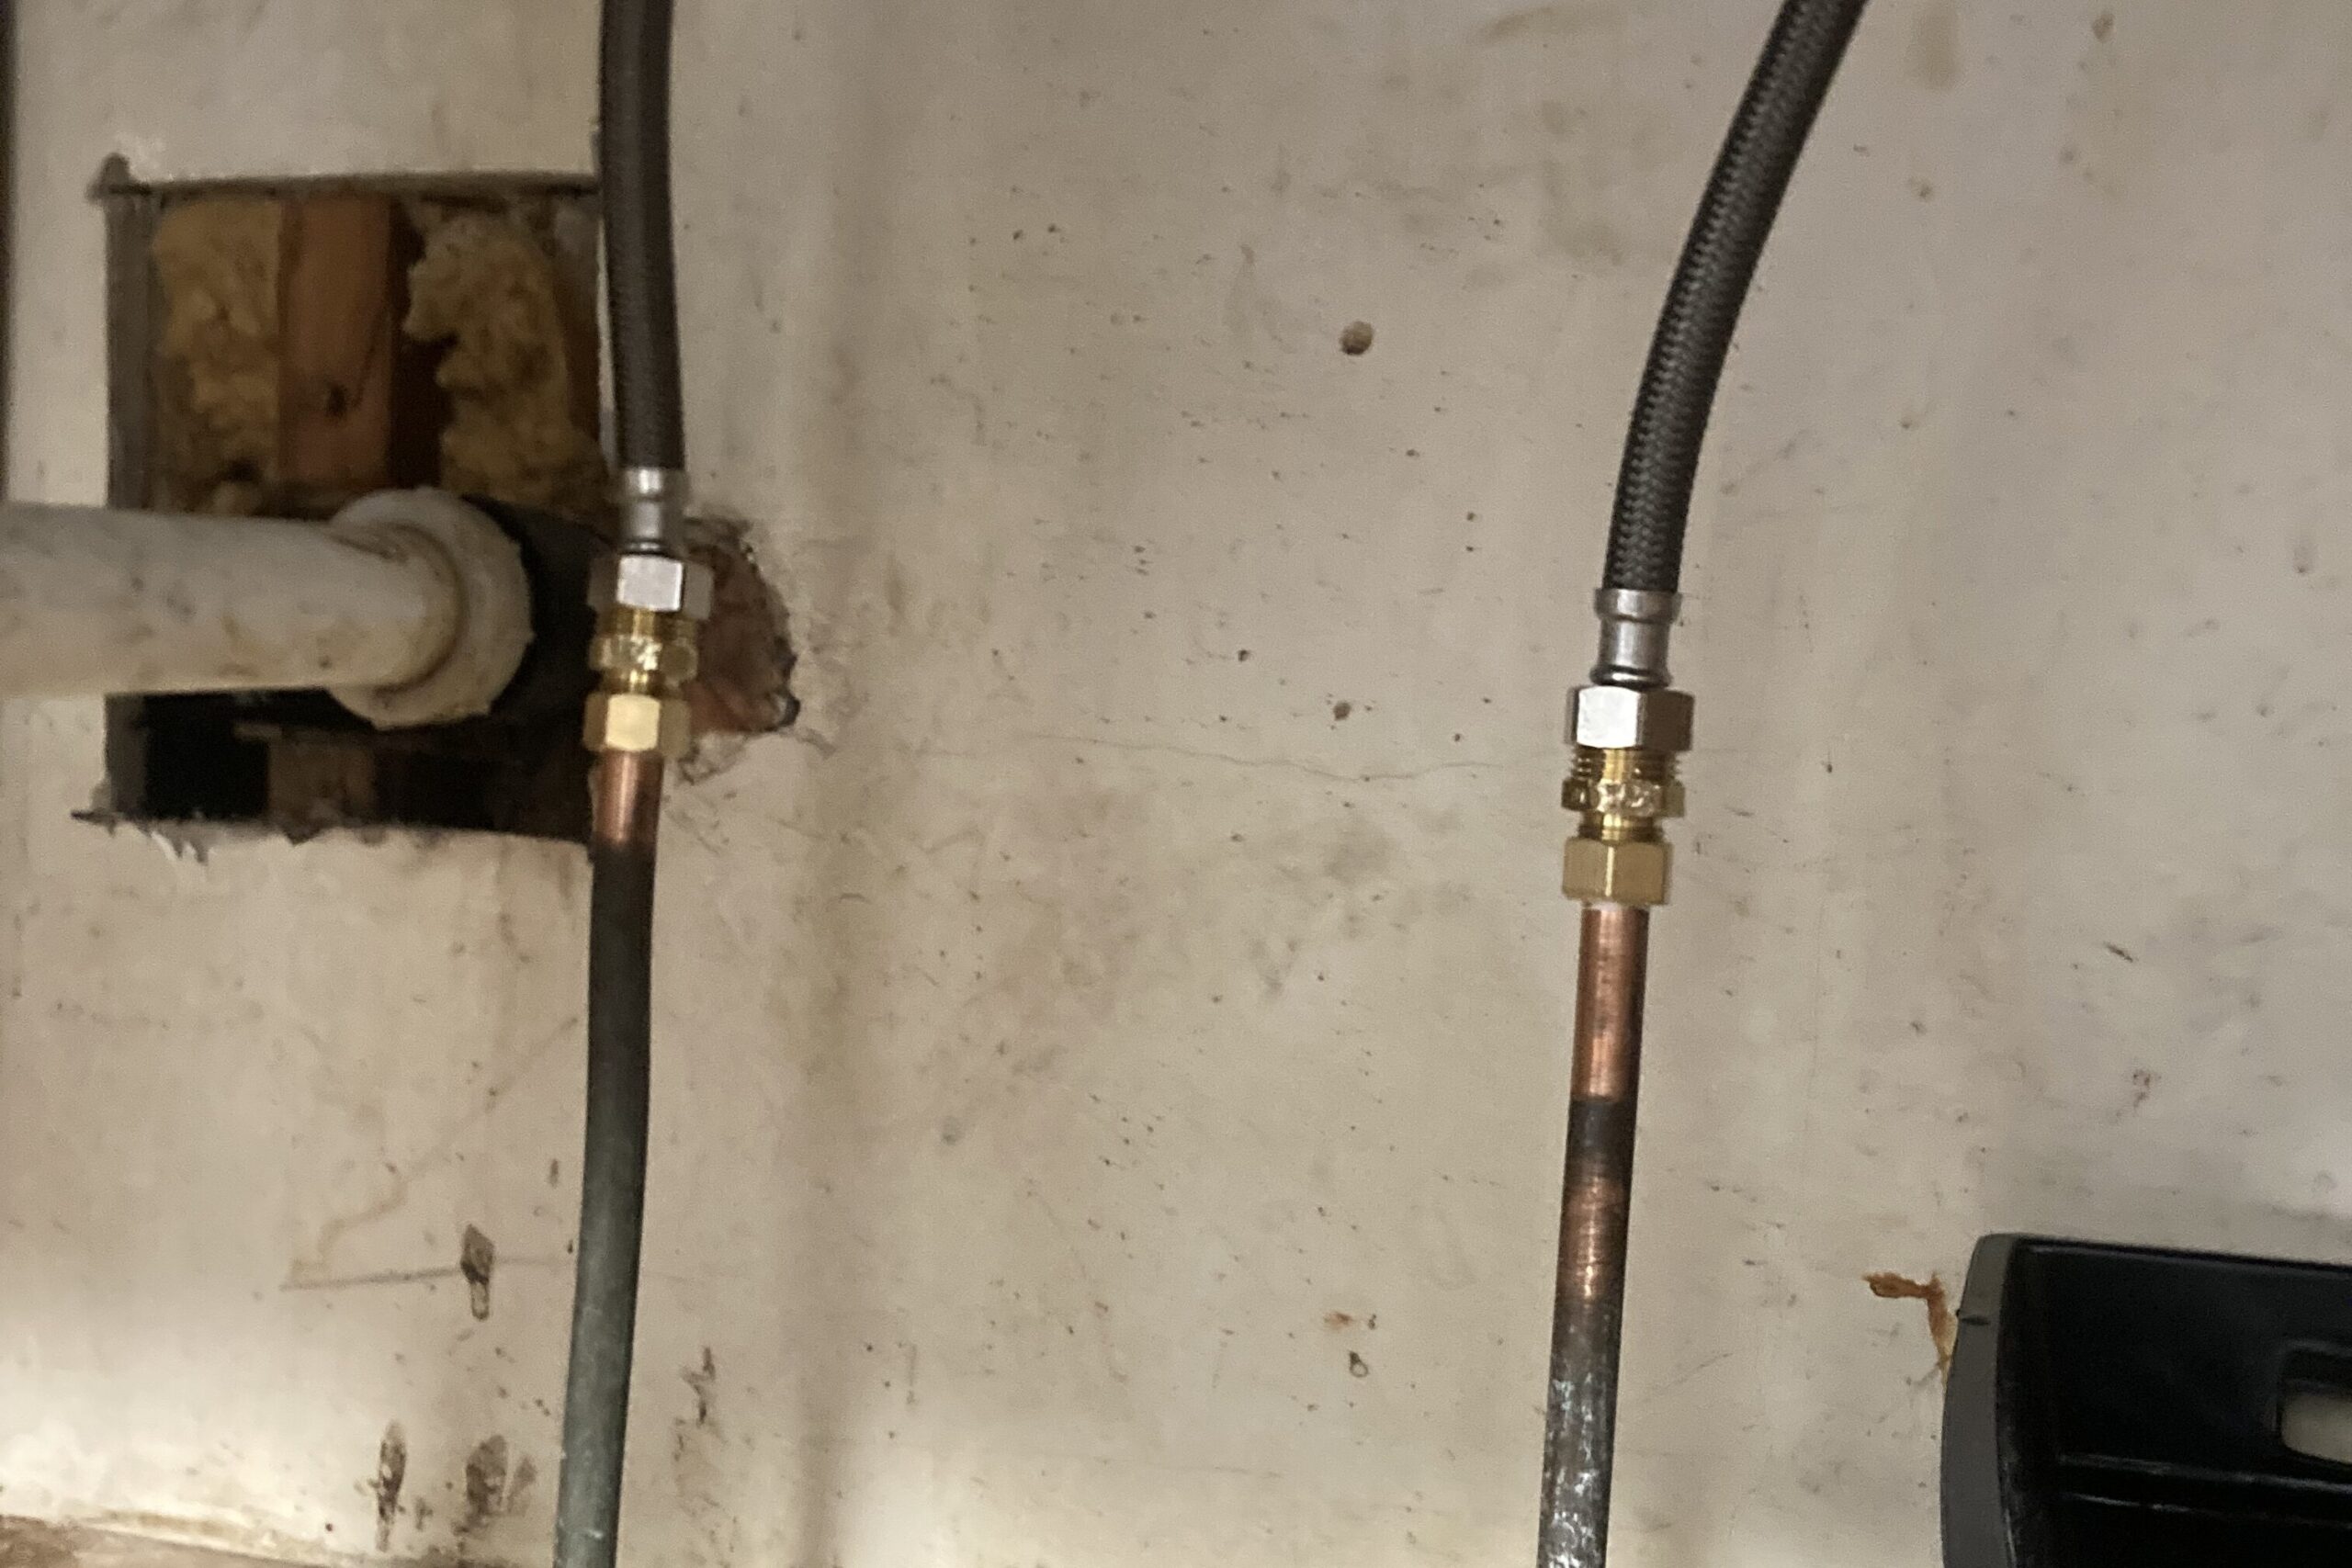
I went down to the basement and noticed that the main hardened 1/2″ copper pipe (0.5″ ID, 0.625″ OD) split off and narrowed down to a 0.5″ OD soft copper pipe for the supply line to the kitchen faucet. Needed to start thinking about what fittings would work with this. SharkBite? Compression Fitting? Other? Not too sure.

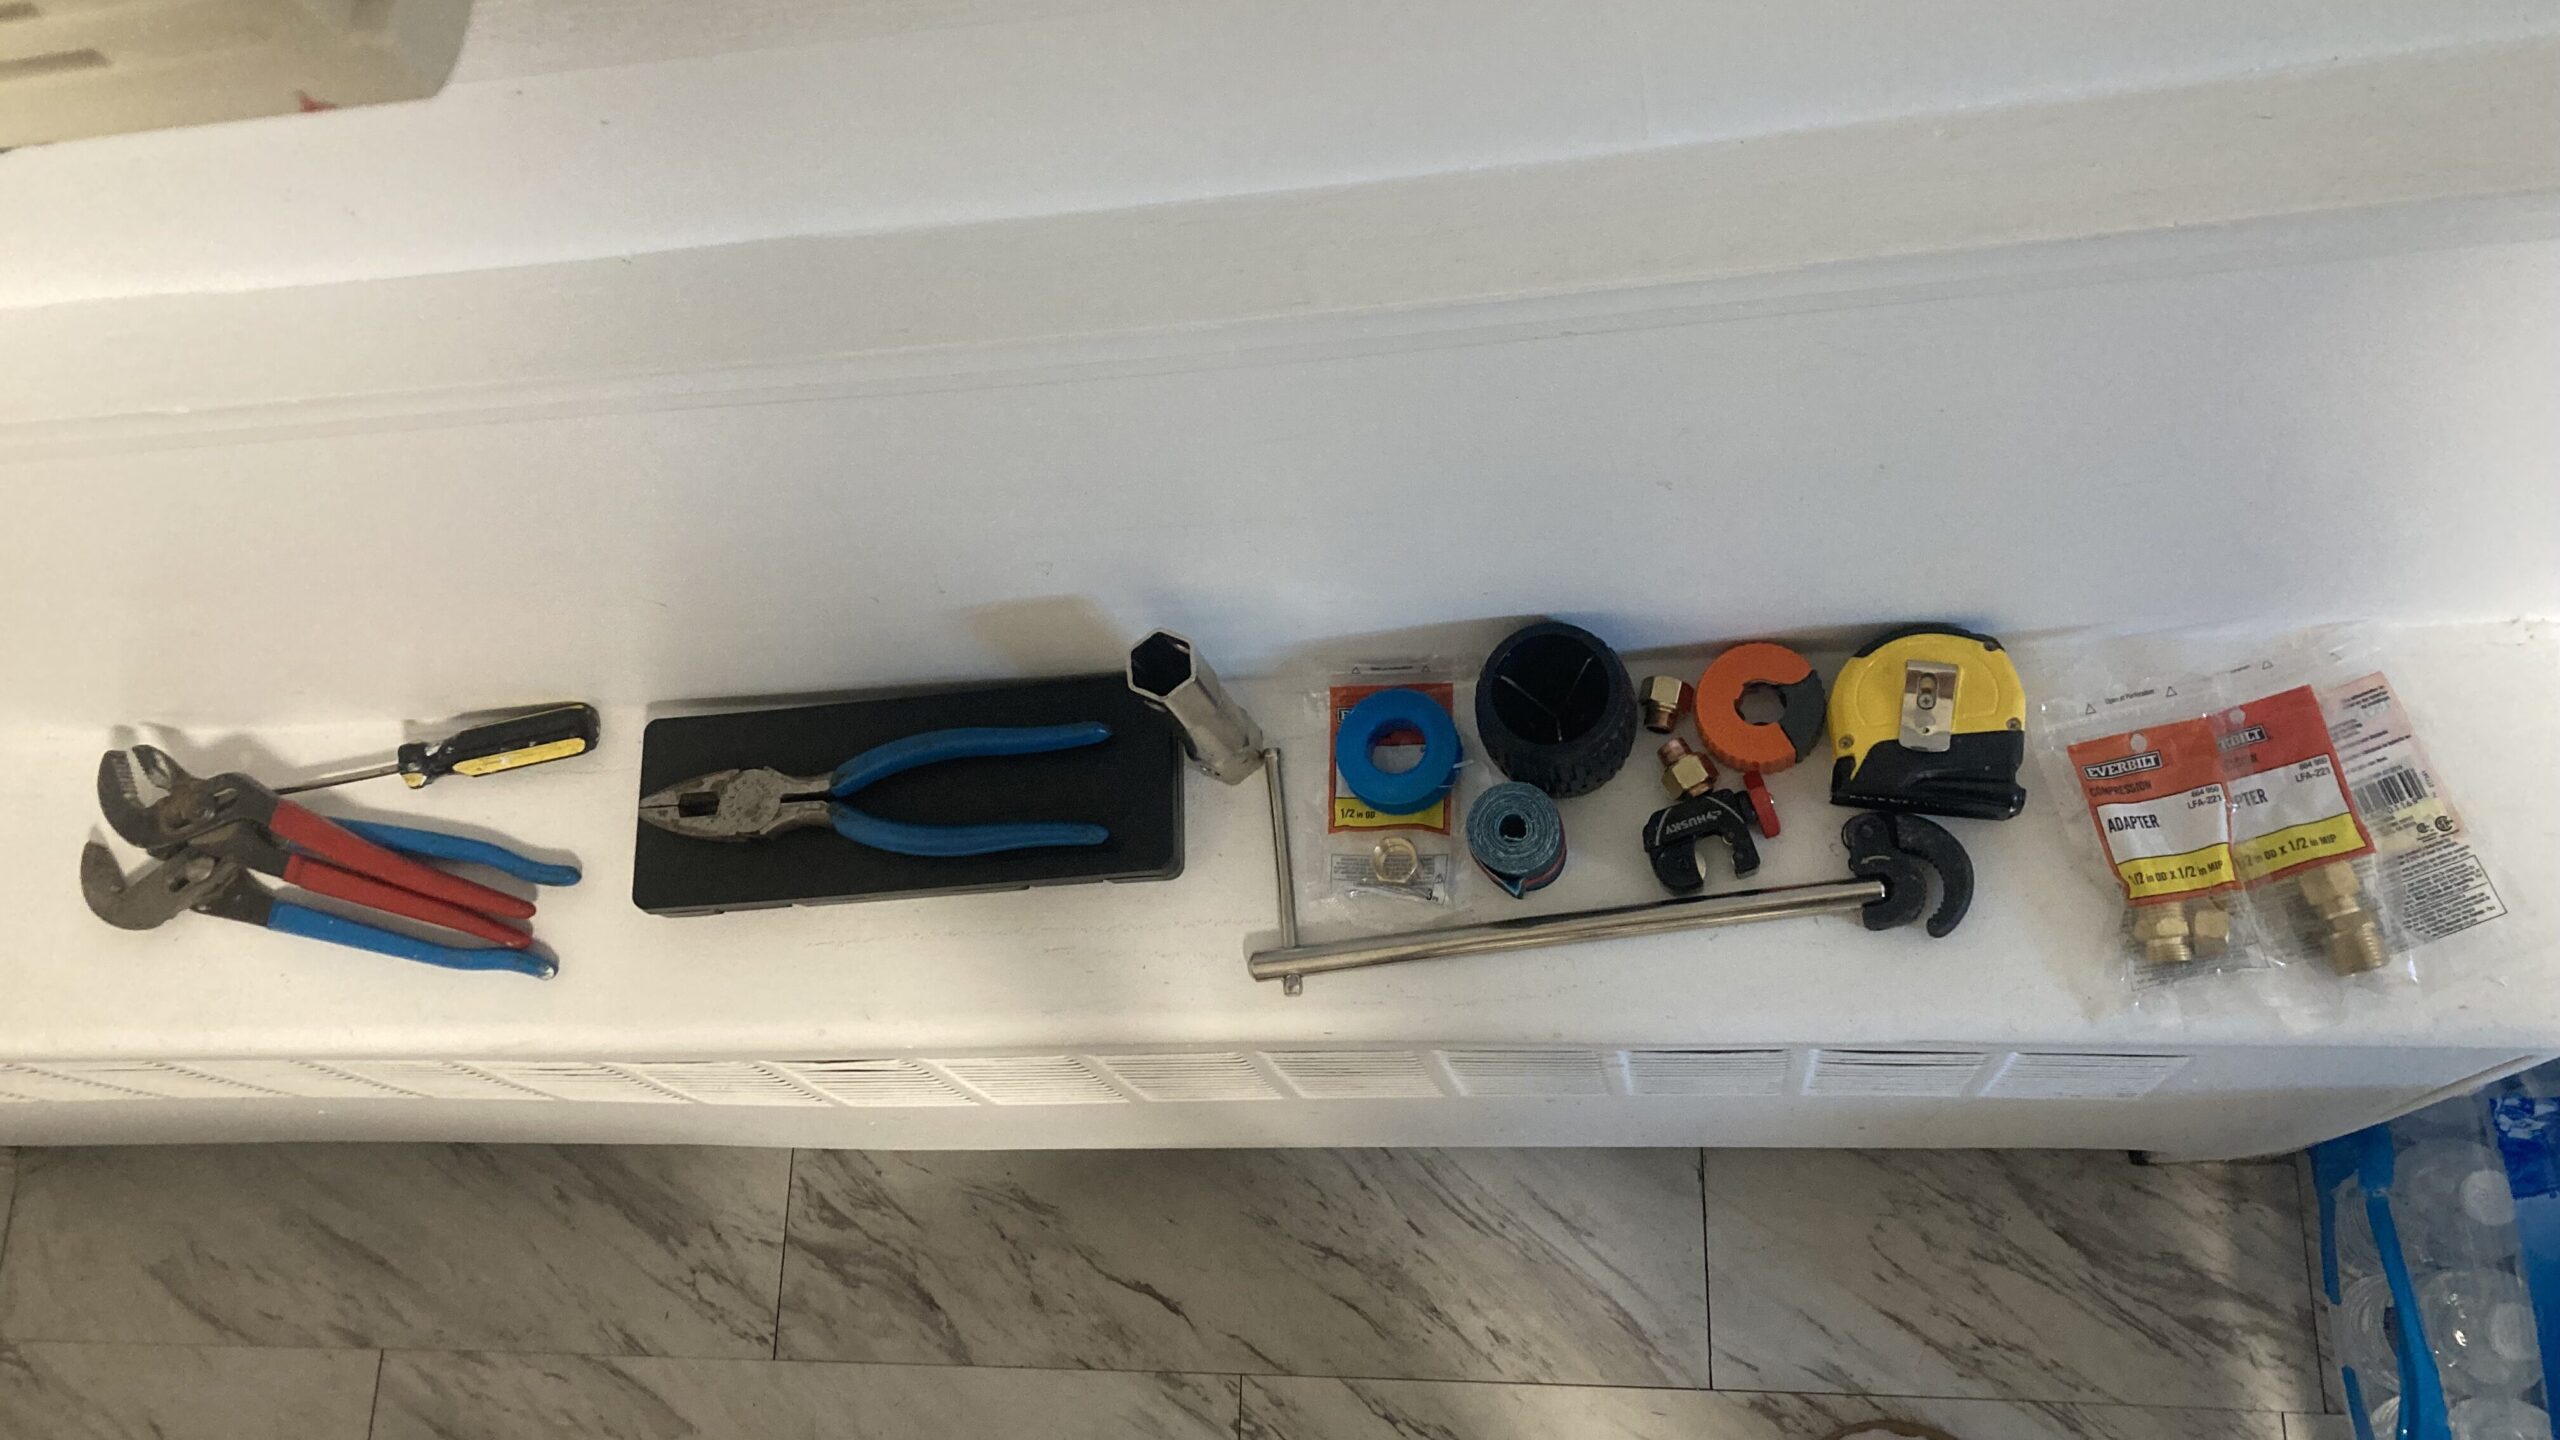
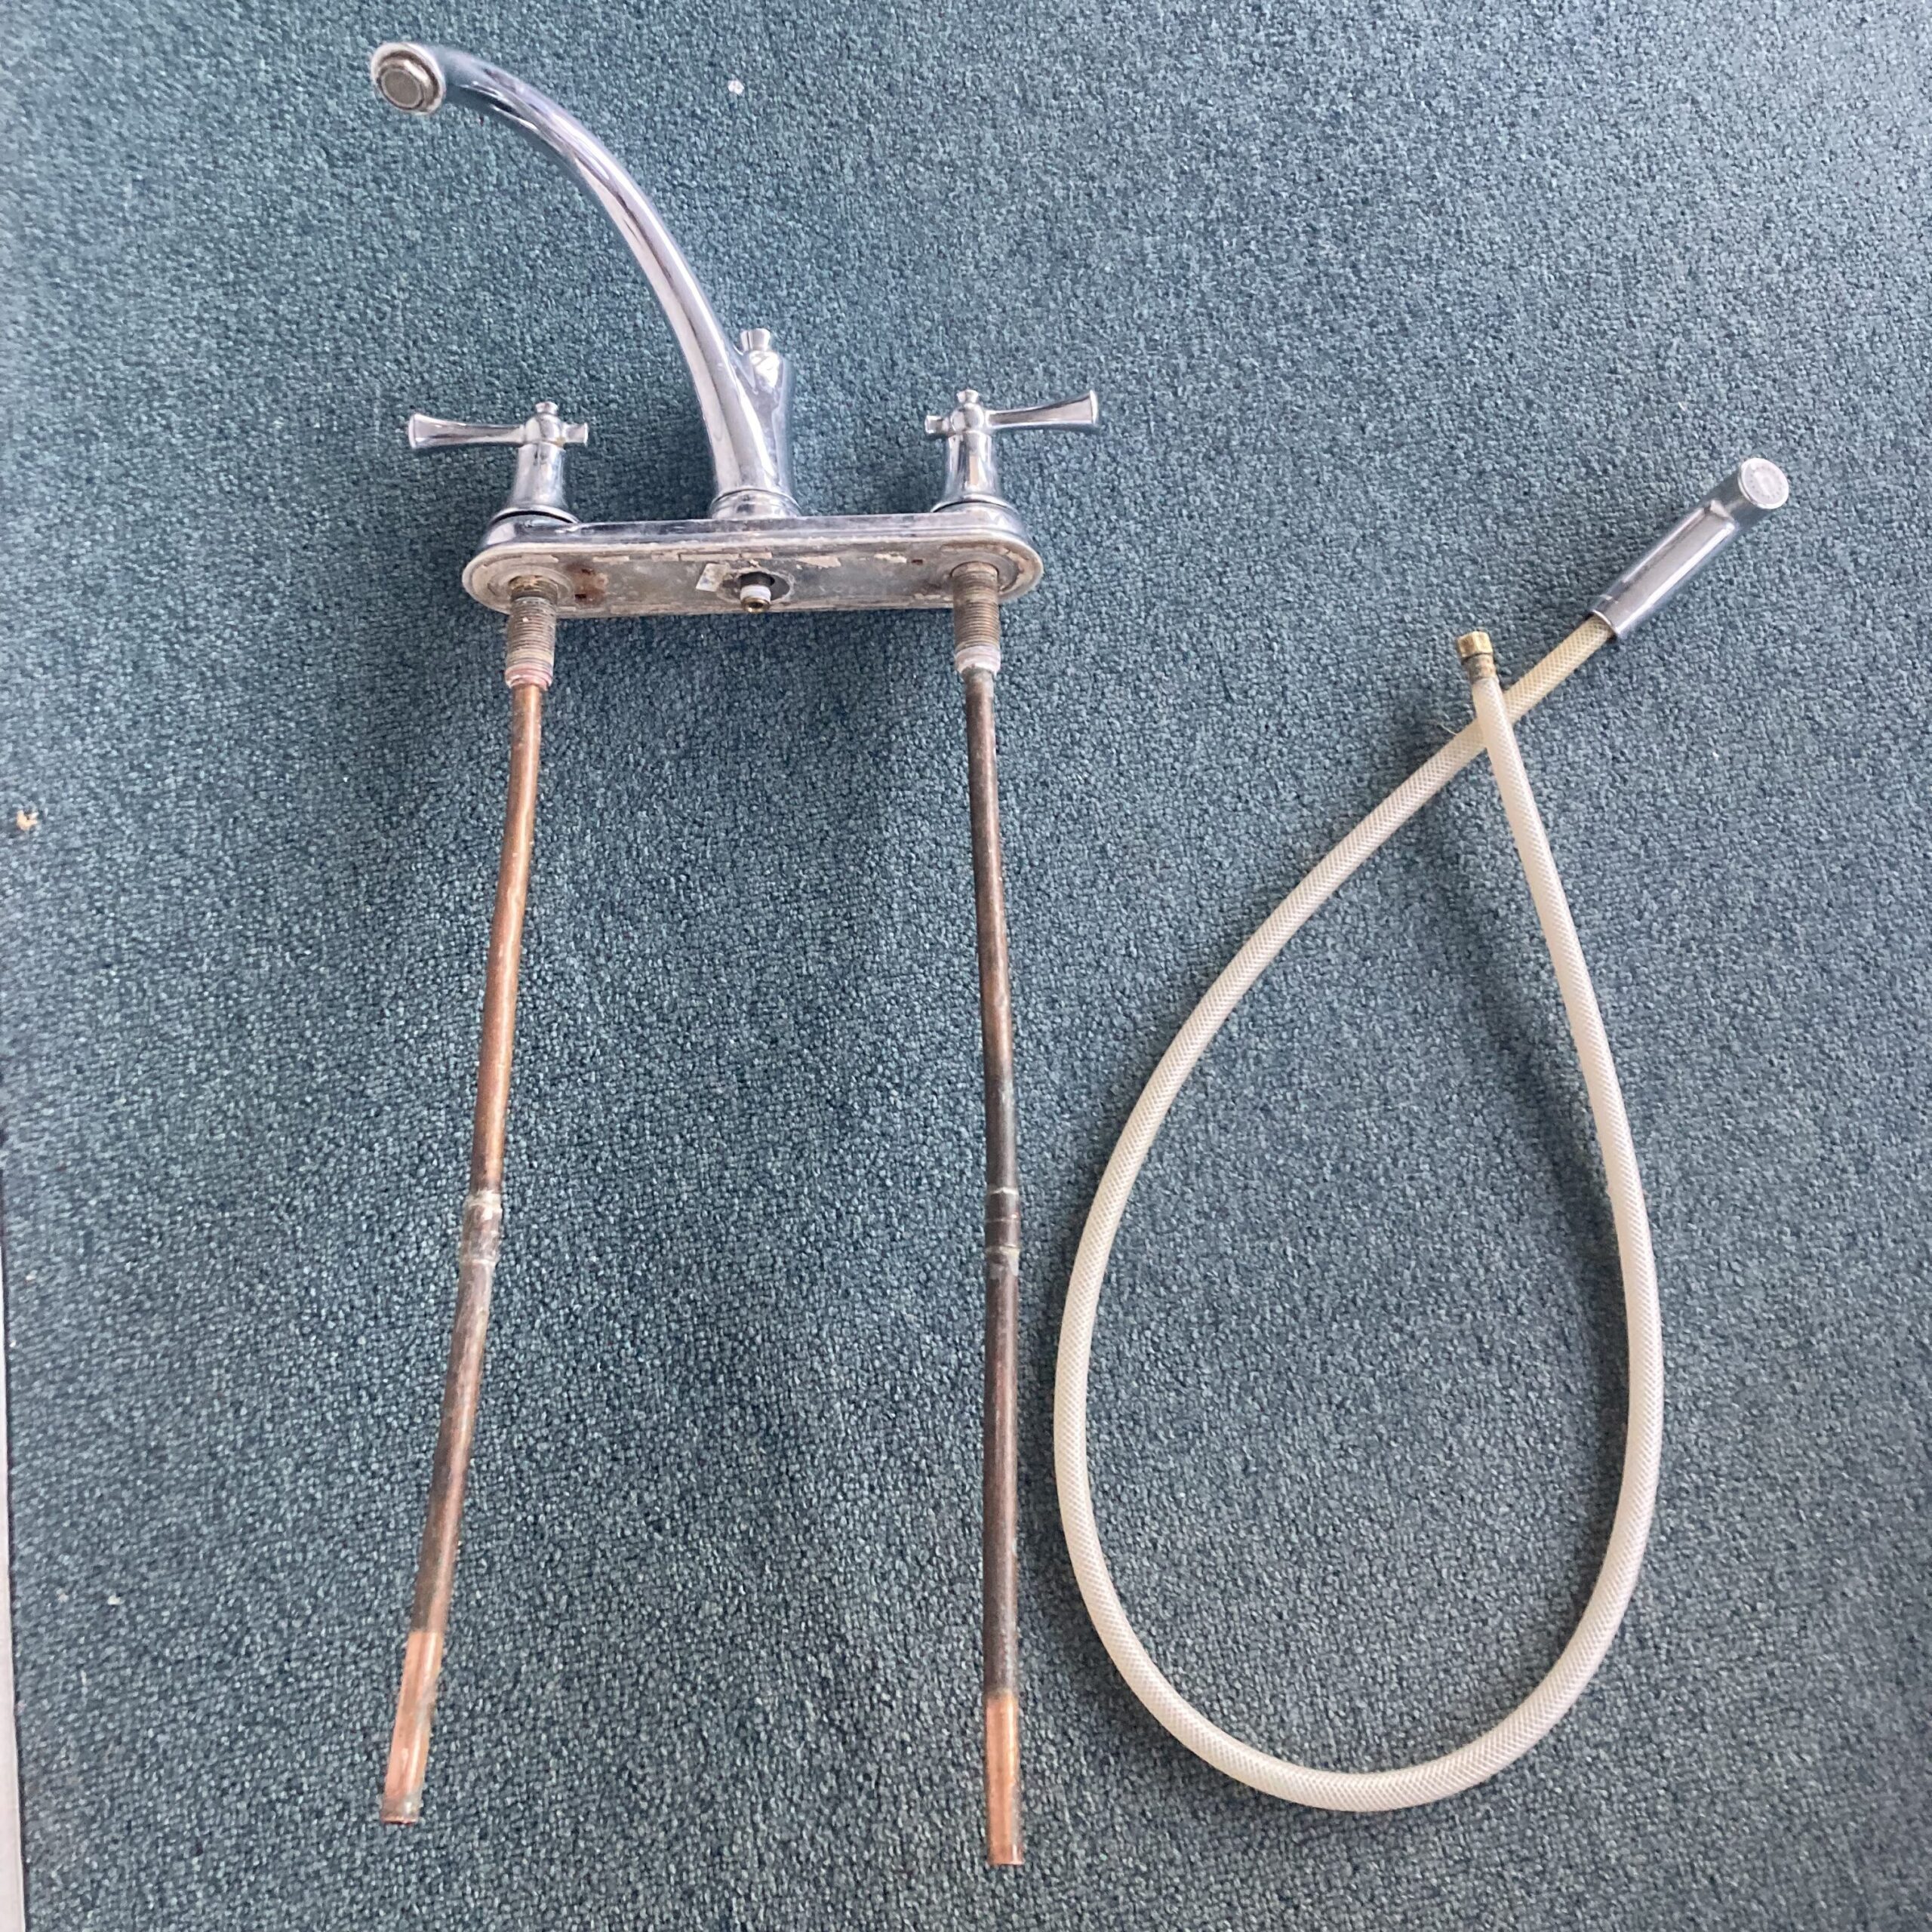
The soft copper pipe was also unfortunately fixed straight on to the faucet. No easy removal. I needed to get some basic plumbing tools, so I went to Home Depot. I will spare you the details on how this easy job (that should have taken no more than 2 hours) took me around 2 days, with 17 total trips to Home Depot to return items and grab some more items to try out and a whole bunch of YouTube videos and planning out how I would approach this on paper. This was my first time tackling this type of DIY job, so I definitely learned a lot. In the end though. Here is the list of things I ended up with at the point where I was ready to cut the copper line:
- QTY: 2 – 1/2 in. FIP x 1/2 in. FIP x 20 in. Braided Polymer Faucet Supply Line
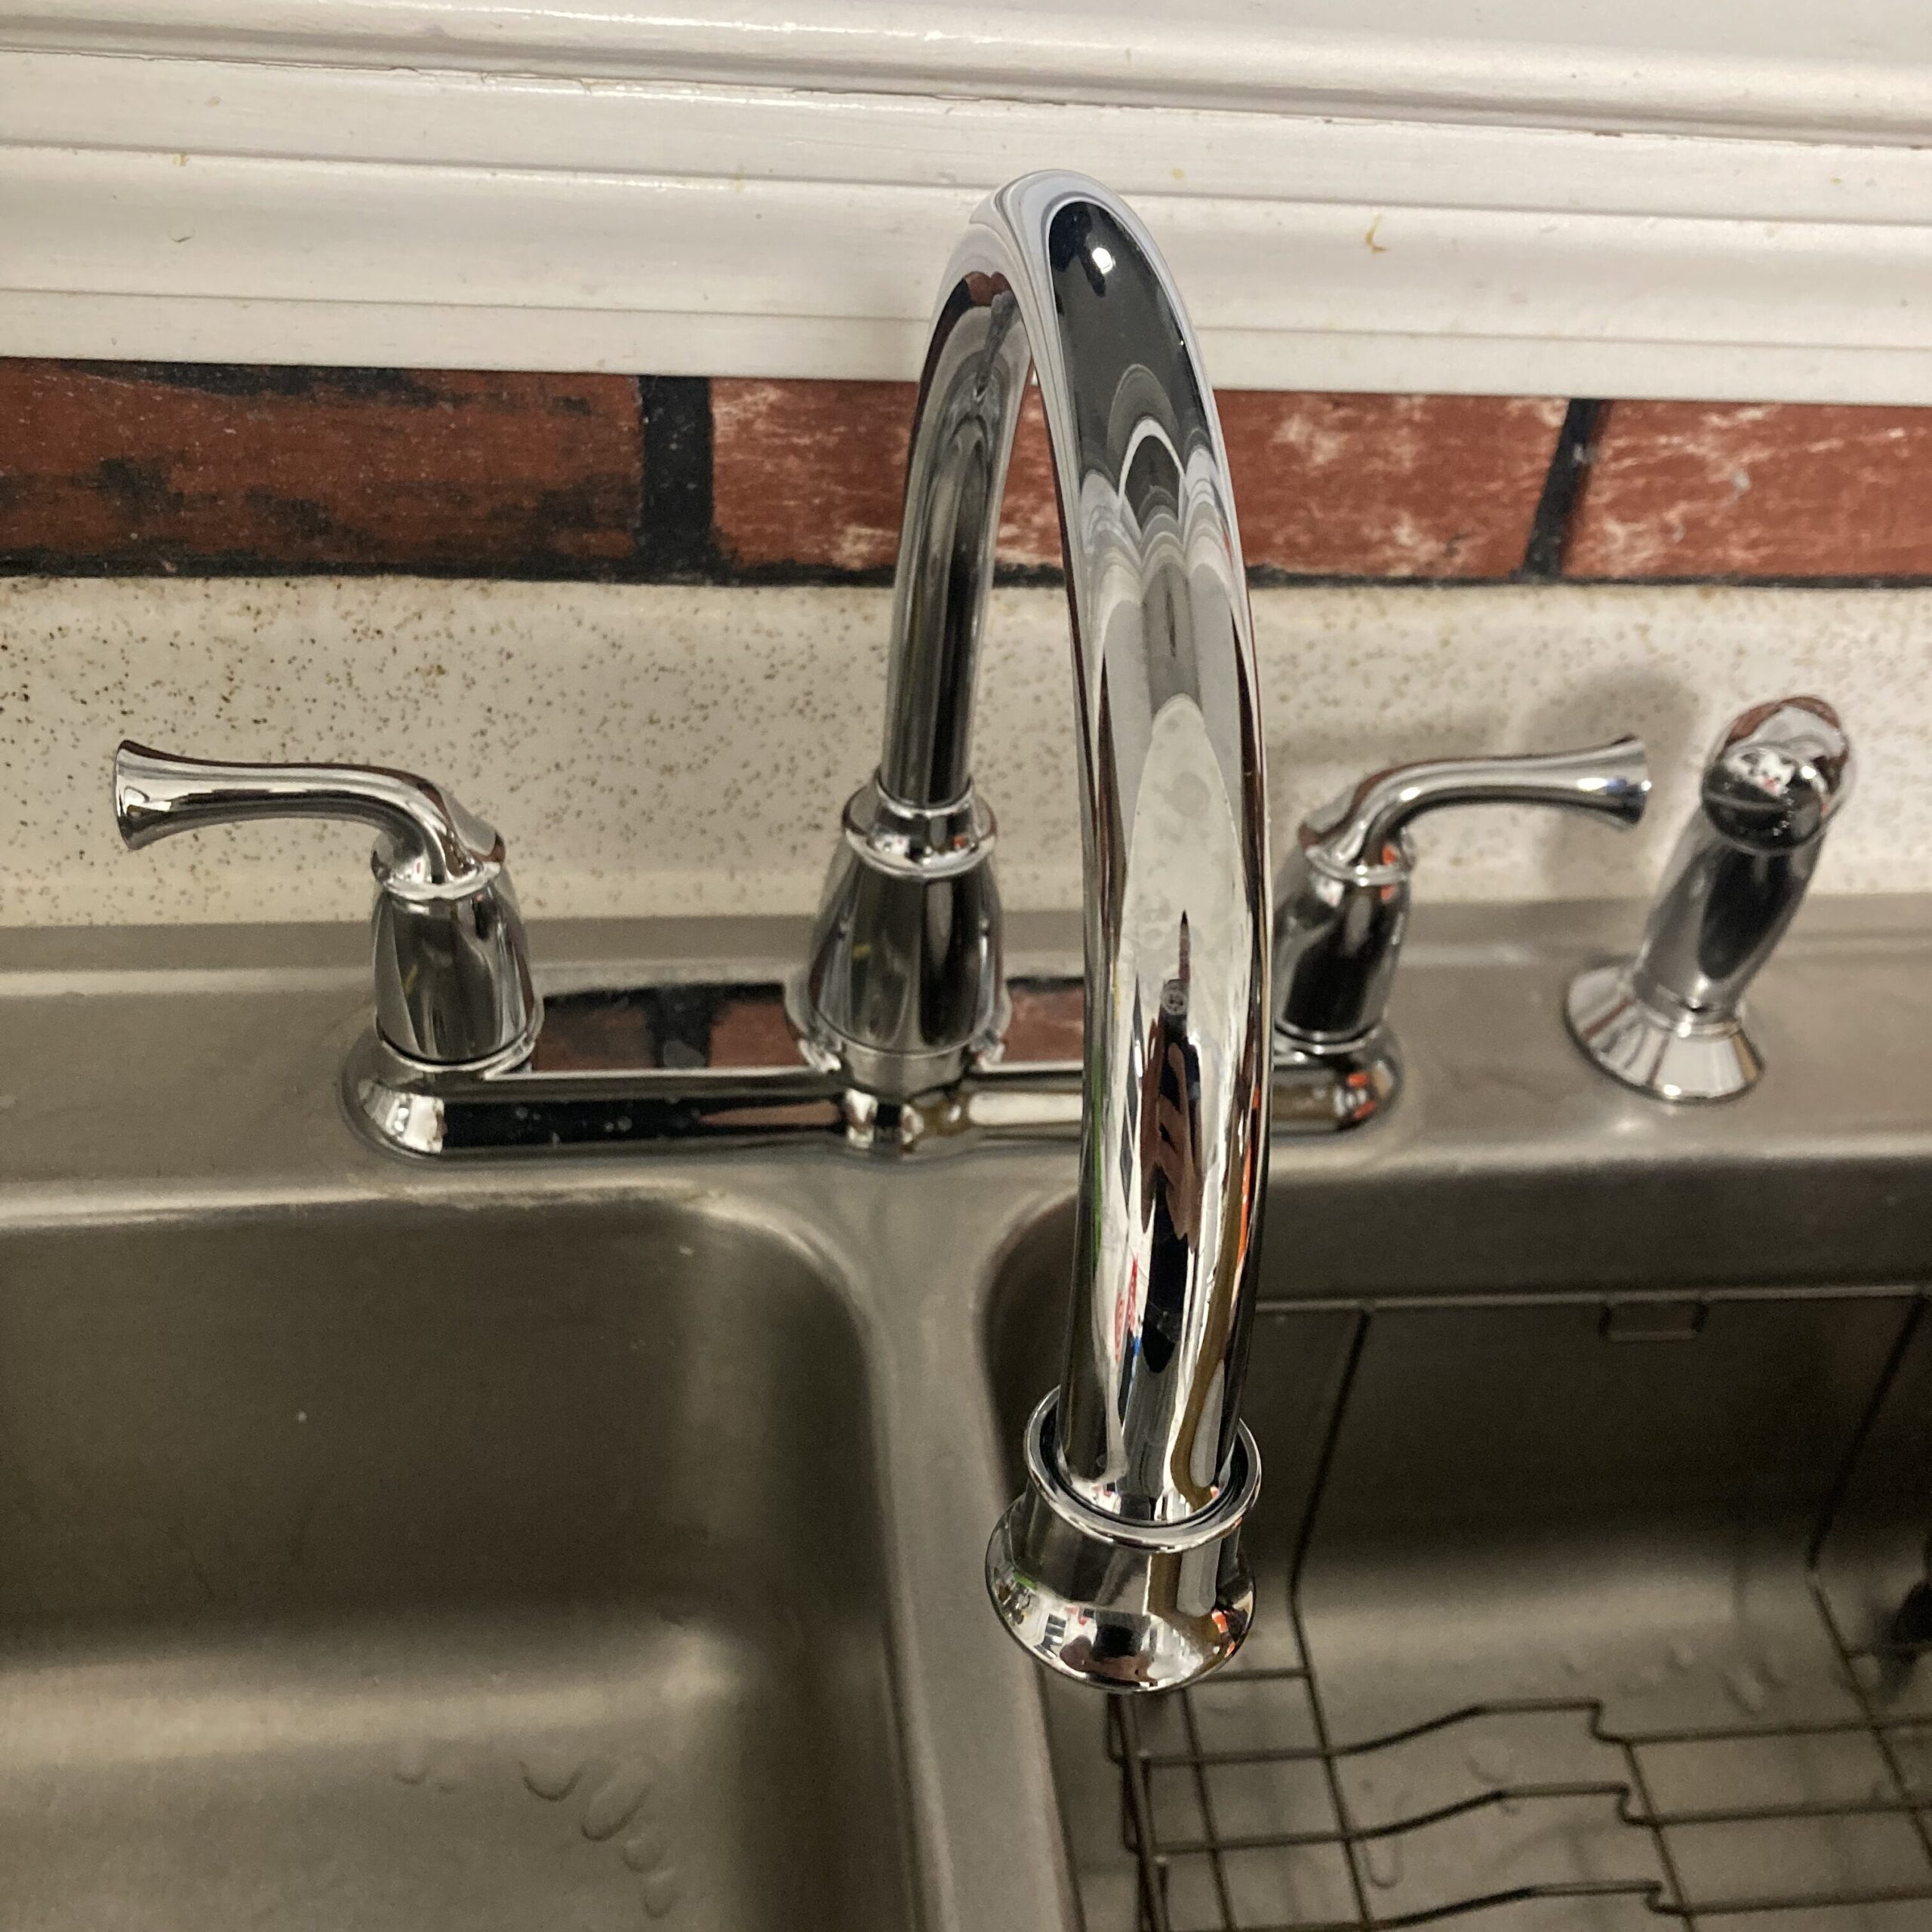
- QTY: 1 – Banbury Double Handle Mid-Arc Standard Kitchen Faucet with Side Sprayer in Chrome
- QTY: 1 – Basin Wrench
- QTY: 1 – Plumbers Cloth
- QTY: 1 – 5/8 in. Junior Tube Cutter for Copper, Brass, and Aluminum
- QTY: 2 – 1/2 in. OD Compression x 1/2 in. MIP Brass Adapter Fitting
- QTY: 1: – 1/2 in. x 260 in. Thread Sealing PTFE Plumber’s Tape
- QTY: 1 – 1-5/8 in. Inner/Outer Reamer
- QTY: 1 – 1/2 in. Compression Brass Sleeve Fittings (3-Pack)
- QTY: 1 – 1/2 in. Brass Compression Nut Fittings (3-Pack)
- QTY: 2 – Straight-Jaw Pliers
Once I had all that, I turned off the water supply valves in the basement (seen in images above) that control the flow of water to the kitchen faucet. I used the junior cutter to cut through the 0.5″ OD soft copper, which maybe took 10-15 turns, adjusting the grip with every 2 or 3 turns. And boom, I was able to remove the kitchen faucet.
After that, I used the pipe reamer to deburr the inside and outside edges of the area when I cut the copper tube. I used the plumber’s cloth to polish the copper so that there was no debris on the OD and so that the compression fitting would work well. After that I slid the nut down the copper pipe and placed the compression sleeve on the copper pipe. I installed the flexible water line and the new kitchen faucet and tightened everything up as hard as I could. Rookie mistake. When I opened the valve to allow water up to the kitchen faucet, I noticed small droplets of water coming out the compression sleeve. Turns out that overtightening a compression fitting creates small regions where water is able to leak through. I removed the flexible water line from the 1/2 MNPT side of the compression fitting and was not able to remove the sleeve and nut since it was on so hard. So, I used the junior cutter to cut off another small portion of the copper pipe.
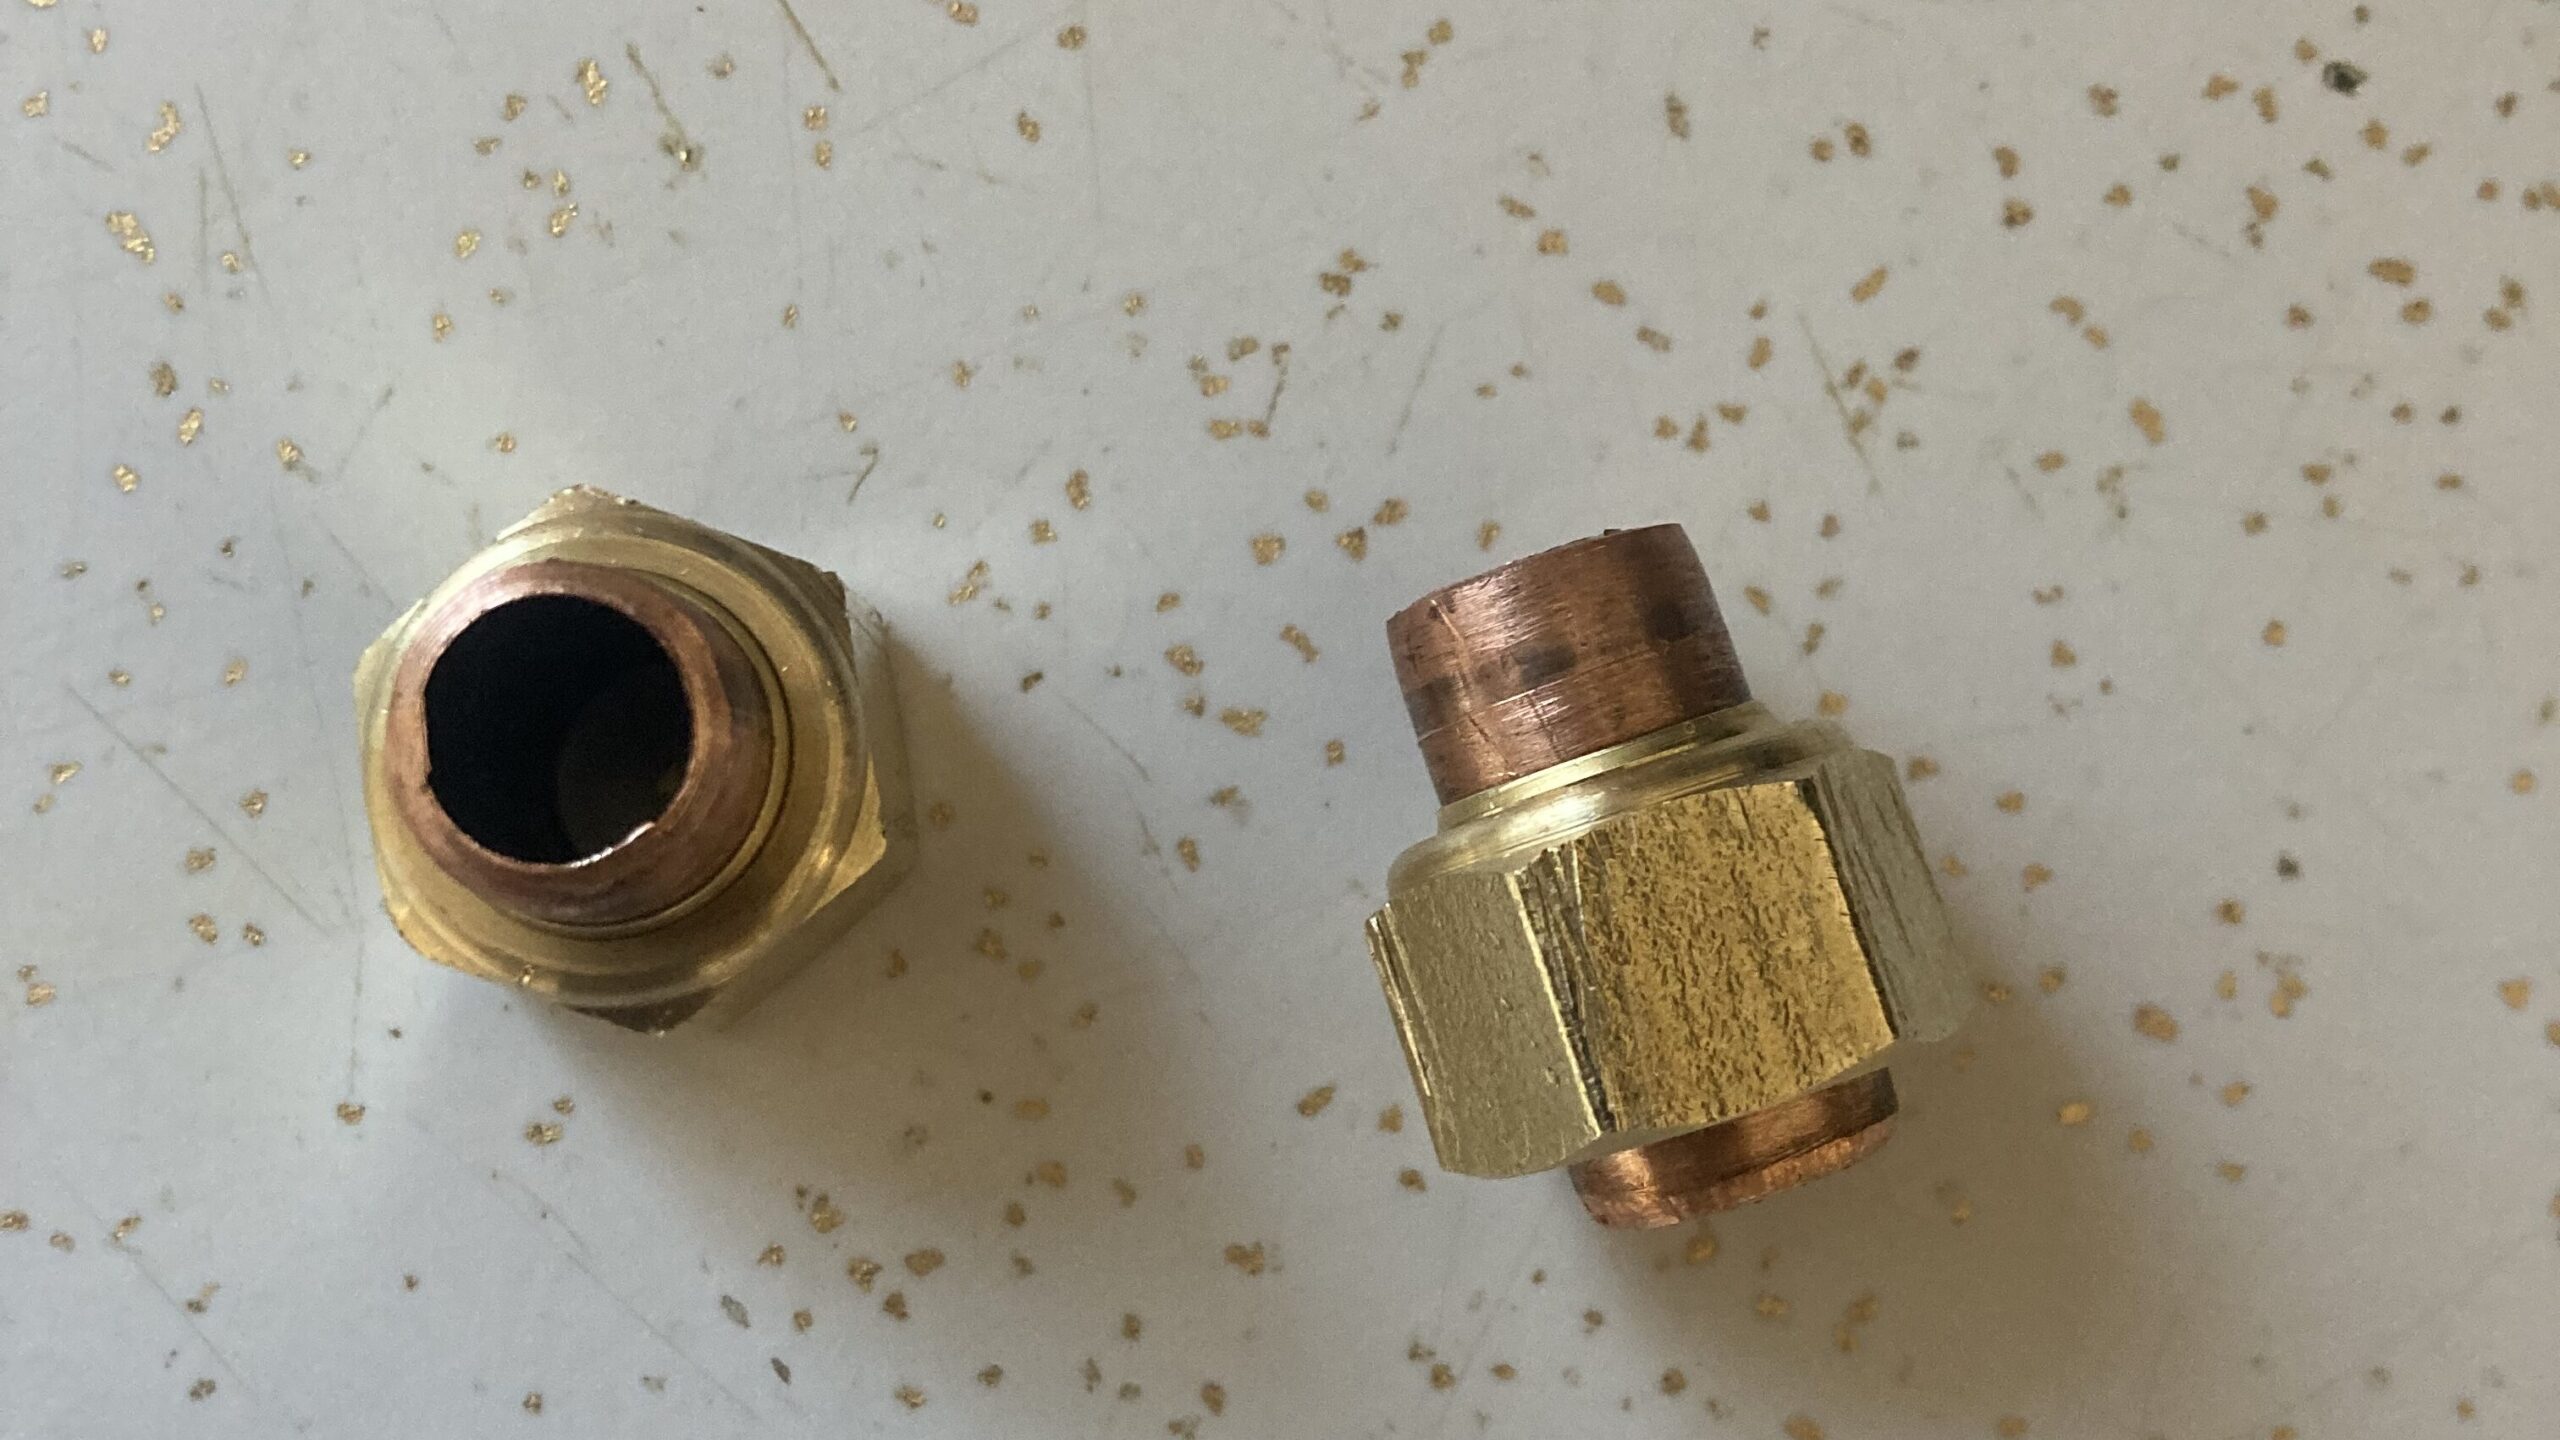
I polished up and deburred the copper pipe again and then went ahead for a second try with the compression fitting. This time after I installed the sleeve onto the copper pipe, I wrapped it up with Plumber’s tape so that it would create a good seal without having to over-tighten the compression fitting. I tightened the compression fitting by hand and then used the pliers to tighten the fitting another 1/2 turn. That proved to be enough. I connected the flexible water supply line to the 1/2 MNPT side again and tightened that up pretty well and then opened the water supply valves again. Boom, no more leak and a DIY job completed. Job well done.
I would like to connect a 1/4 turn shut-off valve in between the 1/2″ MNPT side of the fitting and the flexible water line in the future. Home Depot did not have a 1/2″ FNPT inlet X 1/2″ MNPT 1/4 turn shutoff valve. I found one on amazon, but after 17 trips to Home Depot and the weekend coming to an end, I decided to defer that to a later time. I am happy with how this DIY job ended up. Definitely learned a lot about plumbing basics and the different types of copper and copper fittings.
Leave a Reply